
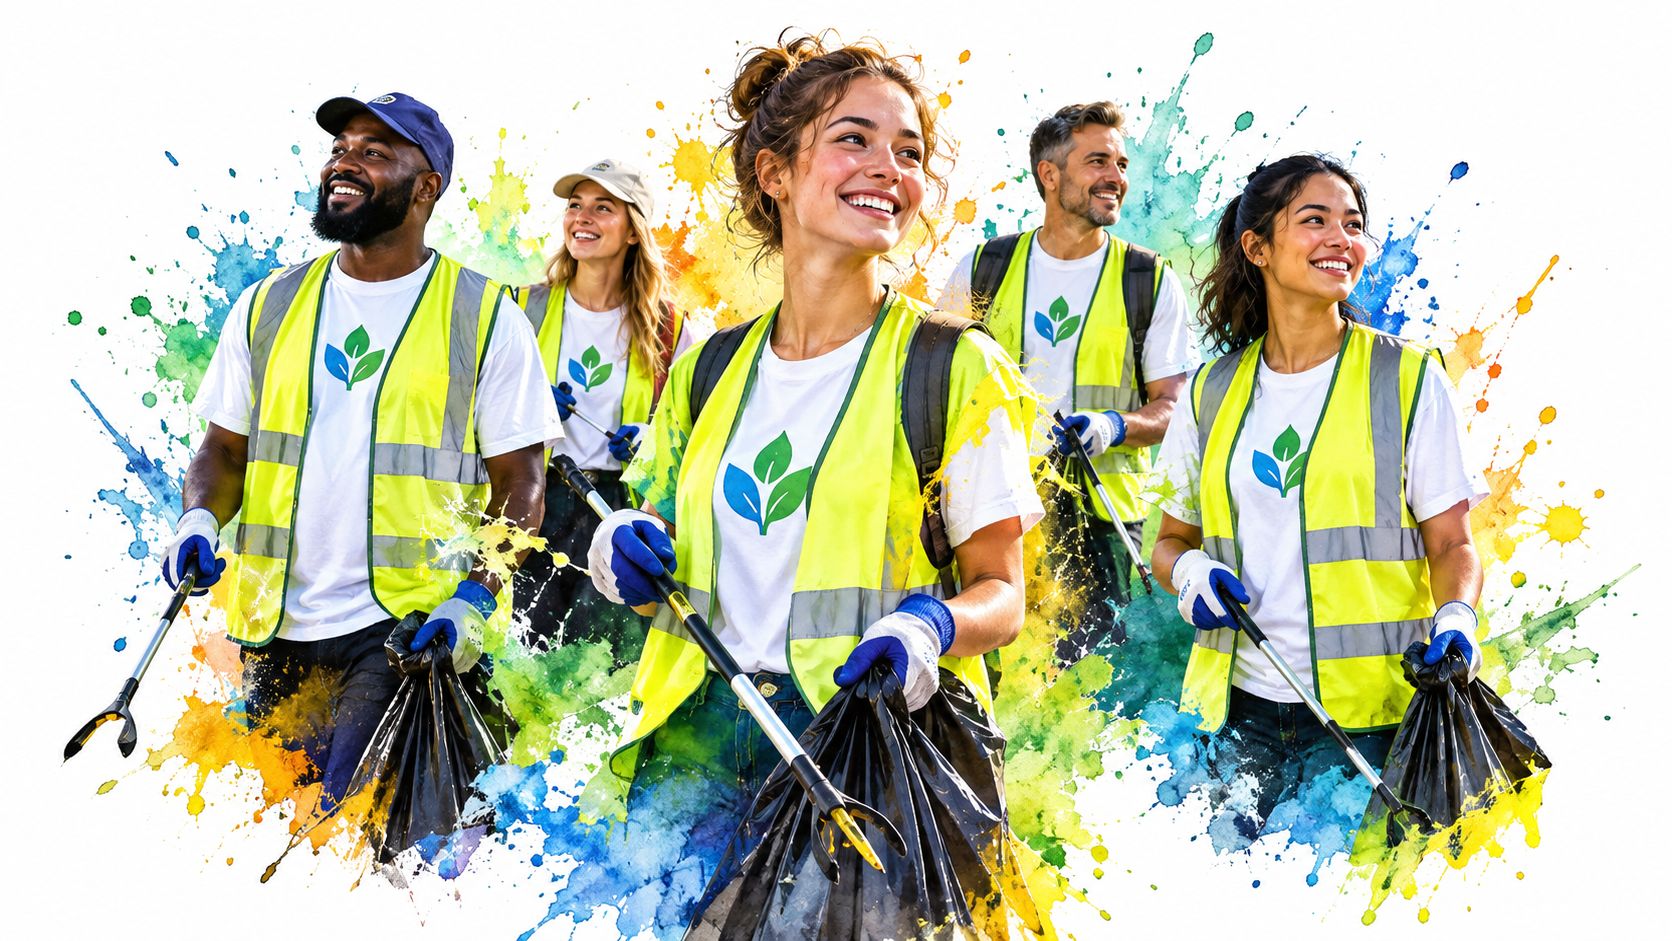
A Chicago hailstorm caught three of us halfway through our first cleanup. We huddled under a tree, shivering while every Uber canceled, and our shared flags became the only clear sign that we belonged together.
Why Volunteer Uniforms Matter More Than a Logo
That day taught me something I still use when I think about volunteer uniforms. A shirt can carry a logo, but a uniform system has to do more work. It has to help the public find you, help volunteers find one another, and help a newcomer feel included before they know anyone's name.
The first approved volunteer uniform in the U.S. National Park Service VIP program was an orange “pop-on” smock, approved in December 1970 when the program began. By 1975, the Service had introduced a distinctive cardigan vest, described in agency materials as sunny gold trimmed in loden green, with versions for men and women. Volunteers whose main duty involved visitor contact had to wear it. The National Park Service history of volunteer uniforms shows how quickly a simple garment can become a public signal.

The three jobs your uniform must do
A stranger on a Chicago sidewalk shouldn't have to guess whether you're part of the cleanup. A bright flag, visible badge, or shared jacket gives them an answer before you speak.
A volunteer arriving alone needs the same answer. They should spot the check-in table, recognize the group near the corner, and know whom to ask for gloves. That small moment can turn anxiety into movement.
The third job happens. A newcomer puts on a vest, pins on a name tag, or receives a team flag. Suddenly, they aren't watching from the edge. They have a place.
A useful test: If your uniform idea doesn't improve recognition, safety, comfort, or belonging, leave it out.
I think about uniforms as a bridge between identity and action. The logo matters because it tells a story, yet the garment also has to survive bending, lifting, rain, sweat, and a hurried bus ride home. A practical campaign t-shirt guide can help you think through message, artwork, and shirt choices before you commit to a design.
Uniforms can also shape group habits. You can read more about organizational culture building when you're trying to turn occasional attendance into a shared practice. Start with the people, the work, and the hazards. Add the logo after those pieces make sense.
Design Your Volunteer Uniform System Before You Shop
Start with a map, not a catalog. Before you buy shirts, write down where volunteers work, what they carry, how long they stay outside, and which roles face moving vehicles, poor light, wet pavement, or heavy lifting.
I use two layers. The core identity layer carries the group's shared look. It might include a shirt, cap, name tag, or small flag. The functional layer comes on top when the task requires visibility, rain protection, cold-weather coverage, or a role marker.
That separation keeps branding from carrying a safety burden it can't meet. Street clothes can work beneath a logo vest in some settings, yet roadway-facing volunteers need a complete compliant safety garment rather than a bright shirt paired with an unrelated vest.
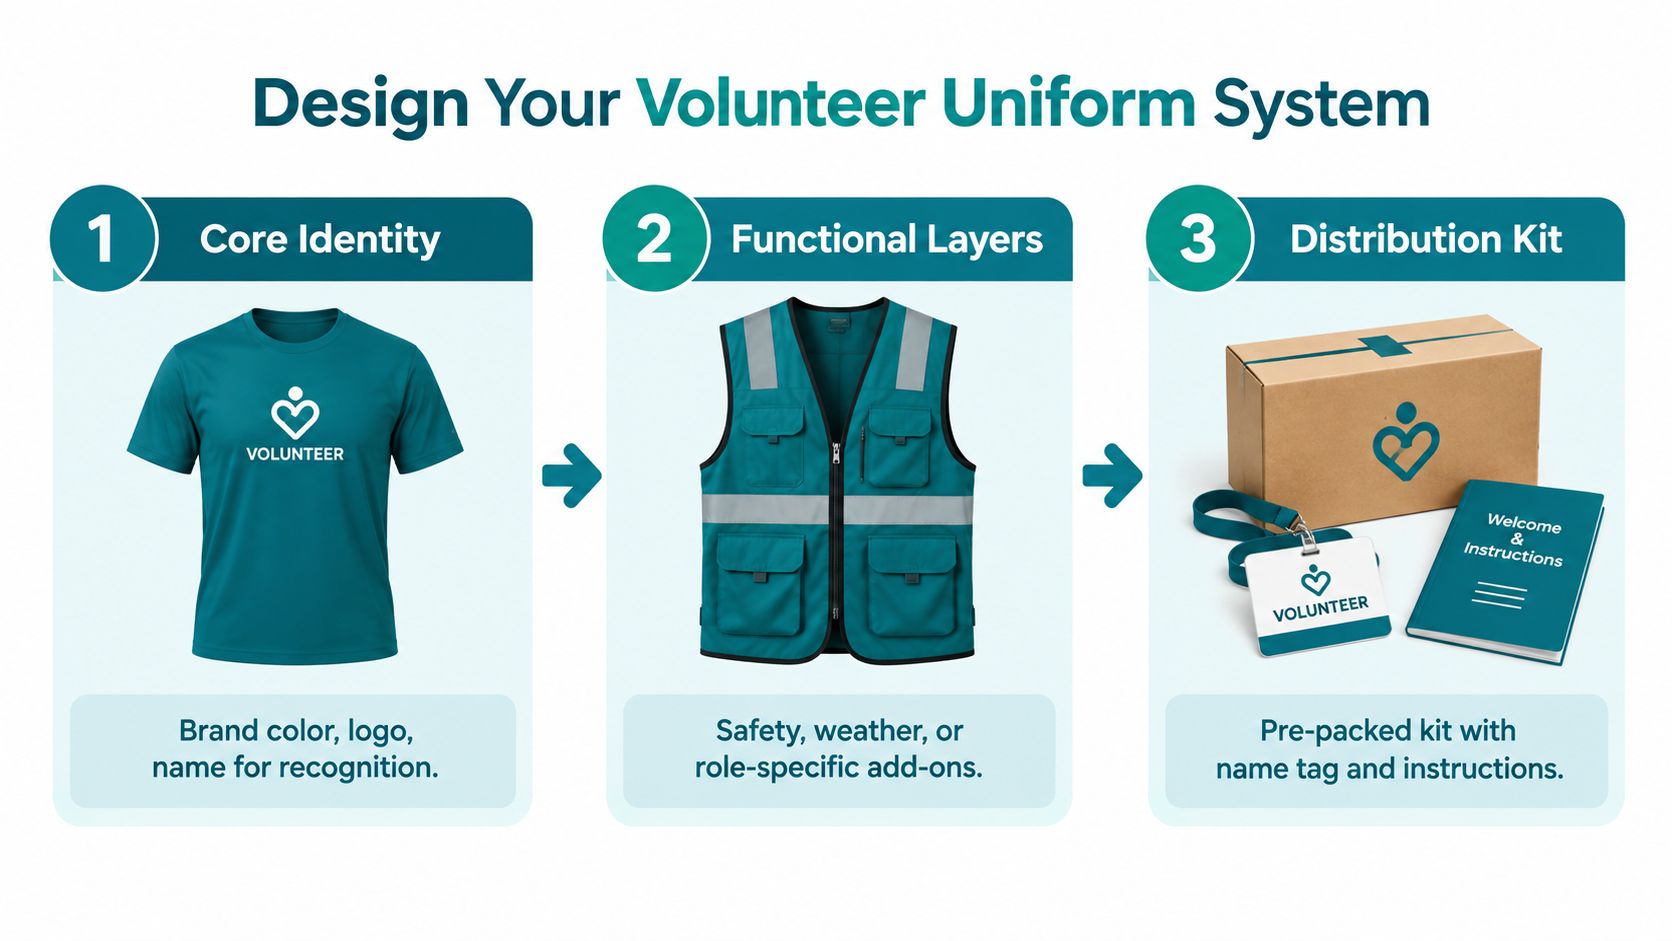
Build the brief in four passes
Map the roles. Separate sidewalk collectors, traffic-facing spotters, team leads, photographers, supply runners, and check-in volunteers. They don't all need identical clothing.
Map the conditions. List normal weather, low-light periods, wet locations, wind, heat, and the movements each role makes. A person who bends for hours needs different comfort from someone standing at a check-in table.
Choose the identity layer. Pick a color that stays readable in street scenes and photographs. Place the logo where a jacket, vest, or open coat won't hide it. Use names or role labels when volunteers need quick identification.
Choose the safety layer. Specify the exact vest or outerwear model, the label class, the available sizes, and the conditions that trigger use. If you need help thinking through fabric weight, stretch, or garment construction, find custom team uniform fabrics before you send a purchase request.
Your finished brief can fit on one page:
- Identity: approved shirt, cap, badge, flag, or name tag.
- Safety: approved high-visibility outerwear and label check.
- Weather: rain, snow, heat, and cold layers.
- Roles: who wears each add-on and when.
- Fit: size range, alternate garments, and spare stock.
- Care: washing, drying, storage, repairs, and returns.
- Conduct: visible identification, photo rules, and prohibited lookalike gear.
Keep the brief plain enough for a new volunteer lead to use without a meeting. If someone has to interpret every line, the system will change from event to event.
Sourcing Volunteer Uniforms on a Grassroots Budget
A low-cost uniform doesn't have to look careless. I've seen groups spend their limited money in the wrong place, then discover they can't replace a missing size or a damaged vest. The better question is simple: what can you issue, wash, repair, and replace through a full season of cleanups?
| Sourcing Option | Best For | Trade Off |
|---|---|---|
| Bulk tees | Groups that meet often and want one shared identity layer | Sizes and fabric quality need careful planning |
| Thrift shirts with iron-on marks | Small pilots and mixed personal styles | Matching color and long-term durability can vary |
| Logo vests over personal clothing | Inclusive programs with limited shirt stock | The vest still needs clear fit and care rules |
| Donated high-visibility vests | Roadside work with a very tight budget | Donations may arrive in mixed classes, sizes, and condition |
| One approved hi-vis model | Groups that need repeatable street-work practice | Upfront sorting and replacement planning take attention |
Spend first on the layer that protects people
For roadway work, spend on the safety garment before you spend on a polished shirt. Fluorescent high-visibility clothing grew from a longer safety-apparel history. Bob Switzer developed fluorescent garments in the 1930s after an injury, UK railway workers trialed high-visibility clothing in Glasgow in 1964, and the first ANSI/ISEA 107 standard arrived in 1999, according to this history of high-visibility clothing.
A logo shirt can wait. A compliant vest can't when volunteers work near public access roads.
Match the purchase to the group
A small group can test a few shirt colors and issue reusable name tags. A growing group needs a size record, a storage bin, and a rule for who receives roadway gear. A group that works in changing neighborhoods may prefer logo vests over personal clothing, since volunteers can arrive in comfortable layers while the group still looks connected.
I'd also reserve money for spare sizes and simple replacements. One approved hi-vis model makes training easier, reduces confusion at check-in, and lets a volunteer lead spot a mismatch quickly. A small badge or flag can carry group pride when shirts fade, stretch, or disappear into laundry baskets.
Buy what your team can maintain. A cheap garment that no one can fit, wash, or replace becomes expensive friction.
Ask every vendor the same questions. What sizes can you order later? Does the logo survive ordinary washing? Can you replace one damaged piece? Does the safety garment carry the required label? A grassroots budget works best when you protect repeatability rather than chase a perfect first order.
Fit Distribution and Care That Keeps Volunteers Coming Back
The clothing table can either welcome people or push them away. I've watched a volunteer arrive on a cold morning, wait while someone searches through a box, try on a shirt that pulls across the shoulders, then leave before the first bag fills. The cleanup lost a pair of hands before it reached the sidewalk.
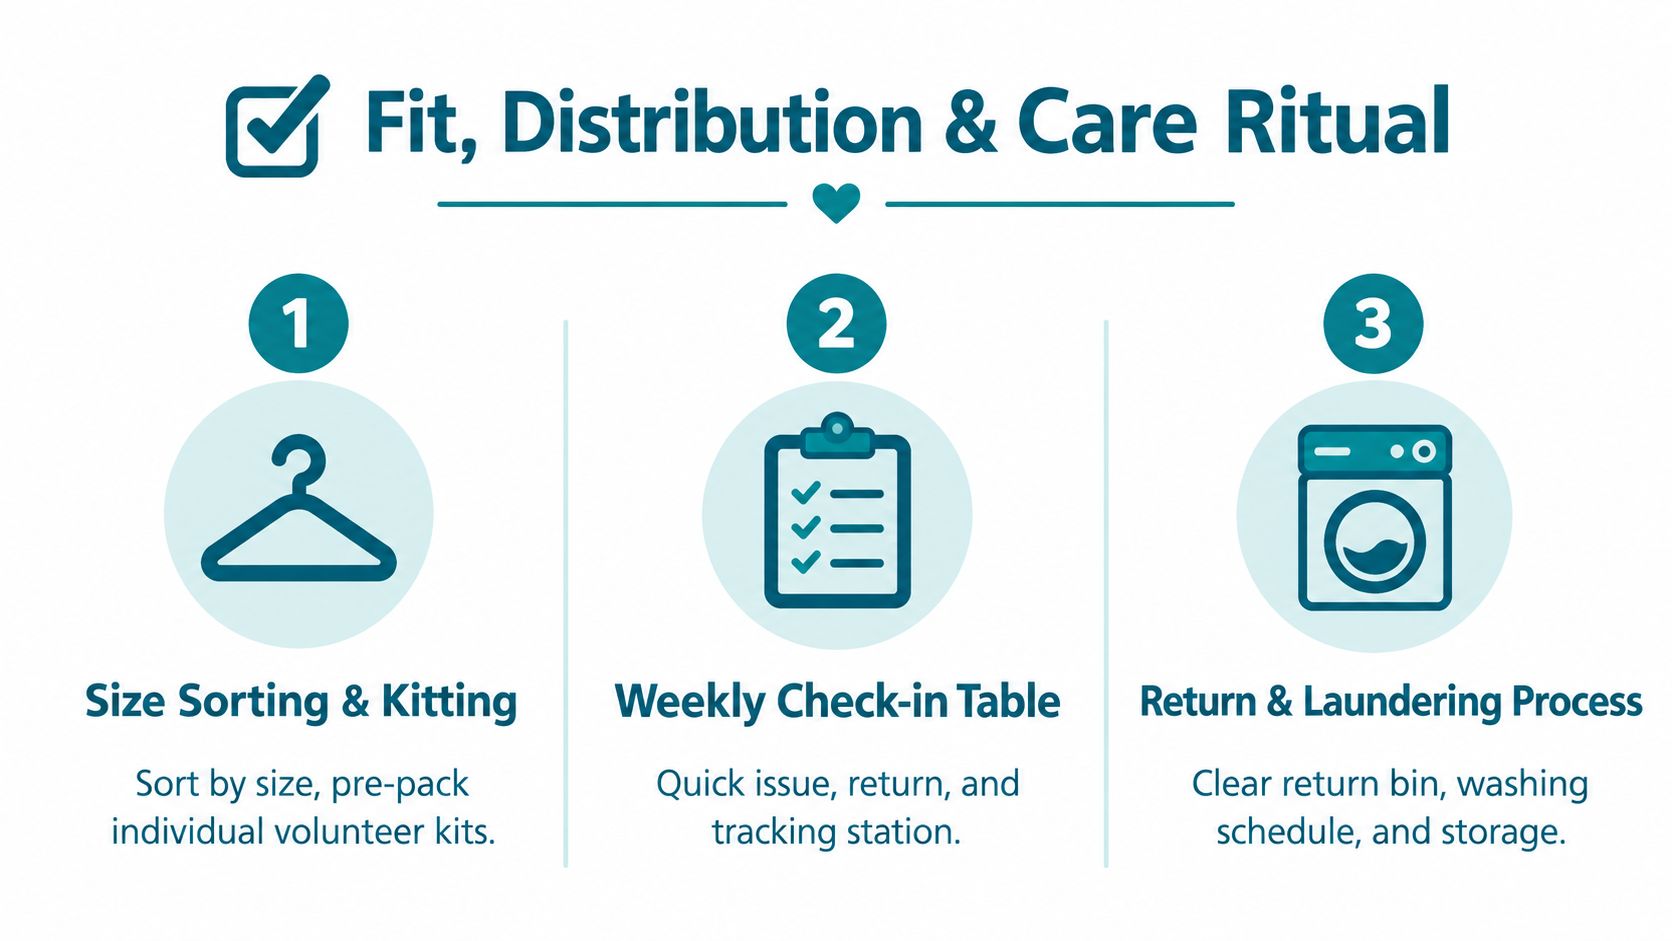
Treat distribution like a short ritual. Sort garments before people arrive. Label bins by size. Pre-pack a kit with the garment, name tag, role note, and return instructions. Keep a small fitting area where someone can change without an audience.
Make fit part of safety
Offer more than one cut when you can. Keep enough room for bending, reaching, layering, and walking. A volunteer uniform should allow comfortable movement without weakening a professional appearance, as described in this hospital volunteer clothing guidance.
A vest over personal clothing can help when a volunteer can't use the standard shirt because of sensory needs, religious dress, mobility needs, body shape, or weather. An alternate garment still needs a clear safety rule and visible identification. Inclusion works best when you write the option into the policy instead of treating it like a special favor.
Run the check-in table quickly
Use a simple record with the volunteer's name, issued size, role layer, and return status. Keep a bin for clean stock and another for used garments. Put the return location on a small card inside every kit.
Name labels can save time when several people own similar jackets. These tips for school uniform labels give useful ideas for durable placement and readable identification, even though cleanup teams need to adapt them for outdoor workwear.
Care rule: Every issued item returns clean, dry, complete, and ready for the next person.
The U.S. Forest Service volunteer-uniform manual calls for uniforms to remain neat, clean, and complete, and it treats high-visibility vests as an approved exception for special circumstances. That manual's uniform guidance supports a modular approach, identity underneath and safety or weather layers above.
Wash according to the garment label. Dry wet gear before storage. Repair loose seams early. Retire damaged reflective material instead of hoping the next volunteer won't notice.
Here's a short visual reminder you can share with team leads:
A smooth clothing ritual tells volunteers that their time matters. They get in, get equipped, and get moving.
You can pair this process with practical volunteer retention strategies that reduce avoidable friction before and after each cleanup.
Safety Visibility and Weather Rules You Can Actually Enforce
A roadside vest is not decoration. Seattle's Adopt-A-Street guide says volunteers must wear the safety vest at all times, and Texas DOT requires volunteers to wear the agency-provided safety vests during cleanup. Seattle's Adopt-A-Street safety guidance gives the plainest version of the rule: if you work beside traffic, keep the vest on.
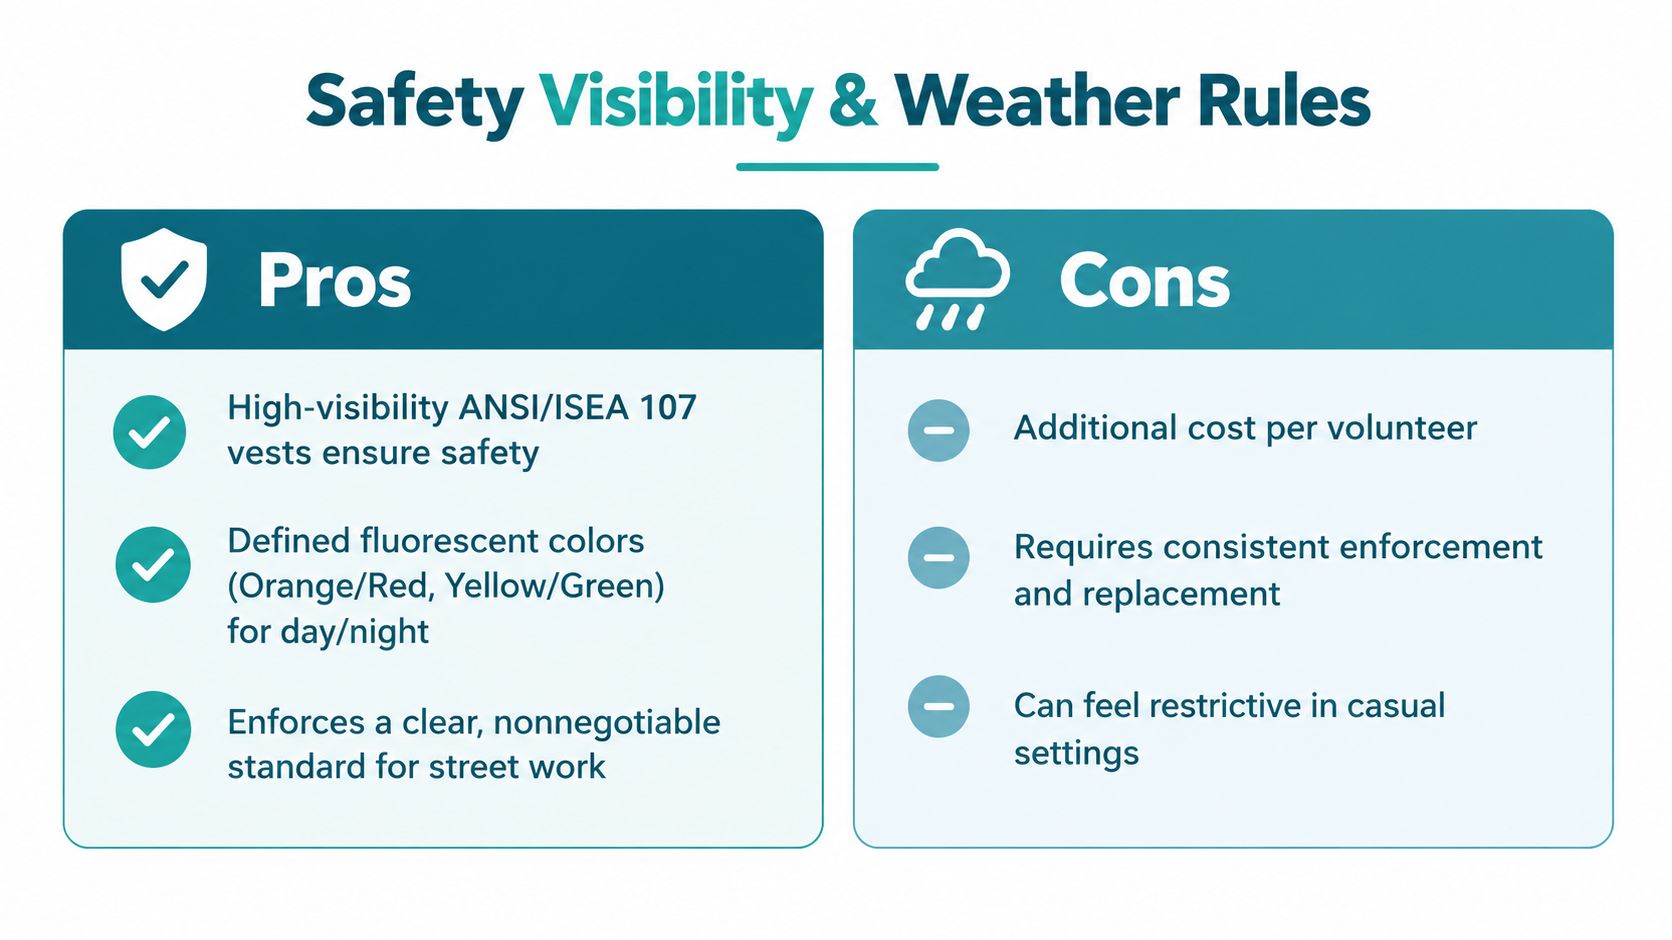
Treat the vest as tested equipment
ANSI/ISEA 107 high-visibility safety apparel requirements cover fluorescent background colors and retroreflective materials. Roadway-facing volunteer work generally belongs in the worker PPE category, not the branding category.
A bright vest alone doesn't prove compliance. Class 2 apparel has one cited benchmark of at least 775 square inches of fluorescent background material and 201 square inches of retroreflective material, with requirements around tested construction, minimum material areas, and 360-degree conspicuity. This ANSI/ISEA 107 explanation describes the benchmark and why a random bright garment can fall short.
Assign hi-vis outerwear to the volunteers who face the road. Before each event, check the garment label and condition. Keep ordinary street clothes outside the compliance layer, since a mixed outfit can interrupt the intended visibility pattern.
Give every weather condition a simple response
Rain changes the system. Add waterproof outerwear over the identity layer, keep reflective areas visible, and replace soaked gear after the event. A hood shouldn't block side vision.
Snow and cold require room for layers, dry socks, gloves, and footwear that lets volunteers walk and bend safely. Don't force a thin branded shirt to carry the whole weather burden.
Heat calls for breathable base clothing, sun protection, water, and breaks. Long pants and sleeves may still fit the task, yet the fabric and fit must allow movement and airflow. Public volunteer guidance commonly names layered clothing, waterproof clothing, sunscreen, and season-specific protection. Hamilton's safety material also points volunteers toward bright or reflective clothing, closed-toe shoes, and garments that don't restrict vision or movement. The NCTCOG cleanup guide adds boots, hats or caps, long pants, and long-sleeved shirts for outdoor work.
Kickoff rule: Roadside volunteers wear the approved vest. Everyone wears closed-toe shoes and clothing suited to the weather. Anyone who can't stay comfortable, visible, and mobile pauses or changes roles.
Use this volunteer safety checklist to turn the rule into a pre-event habit. A policy works when a lead can explain it in one breath and enforce it without guessing.
Make It Stick With Policy Templates and Pride
A good uniform policy should fit on a page. It should tell people what to wear, when to add safety gear, how to request an alternative, and where to return issued items. It shouldn't make volunteers decode a legal document before they pick up a grabber.
Copy-ready policy language
Volunteer uniform policy: Wear the approved identity layer during group activities. Add the approved high-visibility garment when you work on or near a public access roadway, in low light, or in another condition named by the event lead. Keep identification visible. Wear closed-toe shoes and clothing that allows safe movement and fits the weather. Don't use garments that resemble police, military, or public security uniforms. Ask the lead for an approved alternative if the standard garment conflicts with faith, health, mobility, body-fit, or sensory needs.
The Red Cross and Red Crescent volunteer security manual says volunteers should carry photo identification or wear a badge or recognized uniform, keep uniforms and emblems clearly visible, avoid police or military lookalikes, and avoid metal badges that could cause accidents. Its volunteer security guidance gives you a practical foundation for identification and appearance rules.
Let pride have a place
Policy handles the edges. Pride keeps the center alive.
A small flag can lead a group down the block. A cloth badge can turn a borrowed vest into something people want to wear. A theme song can make a wet morning feel like the opening scene of a shared story. Those details don't replace safety gear. They give the safe gear a human face.
I learned that under the tree during the hailstorm. Three strangers looked miserable, yet the flags, the jokes, and the shared colors gave us a reason to stay together. Years later, the same principle still works at a cleanup near an empty lot, a bus stop, or a corner where everyone else walks past.
Write a one-paragraph volunteer agreement beside the policy:
I'll wear the assigned gear for my role, keep identification visible, follow weather and roadway directions, tell a lead when my clothing or equipment doesn't fit safely, and return shared items clean, dry, and complete.
Read it at check-in. Ask for consent before taking photos. Give people a way to decline or request a different image. Keep exceptions private, practical, and easy to approve.
Your uniform system should feel like a hand on the shoulder, not a locked gate. Start with one identity layer, one approved safety model, a few weather options, and a distribution ritual you can repeat next weekend.
Visit Litter Caterpillars to see how a Chicago volunteer cleanup group combines safety, friendship, flags, badges, and shared purpose in real field conditions. Join the next cleanup, test your uniform system with us, and help turn one cold or rainy morning into a team memory.